7 steps from boxed headsets to a shared session: hardware, choosing an MDM, setting it up, Wi-Fi, installation, accounts, and sign-in.
Nanome is device-agnostic — best experienced in VR or MR, but no headset is required. Jump in from any browser and start exploring molecules right away.
Nanome runs on Meta Quest 3 and 3S, Samsung Galaxy XR, Apple Vision Pro, and Windows PCs over Meta Link.
01
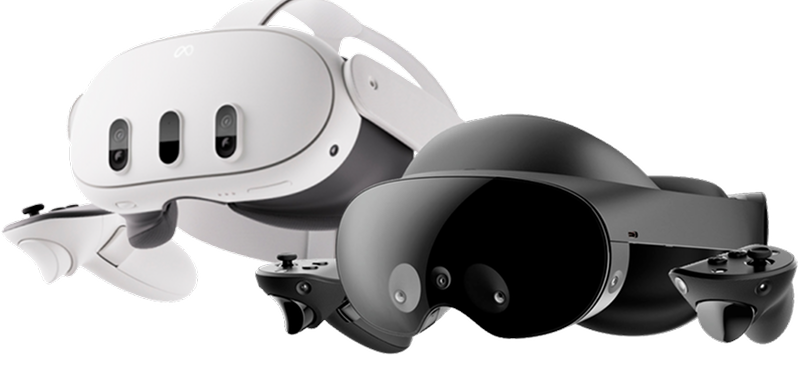
Meta Quest 3 and 3S
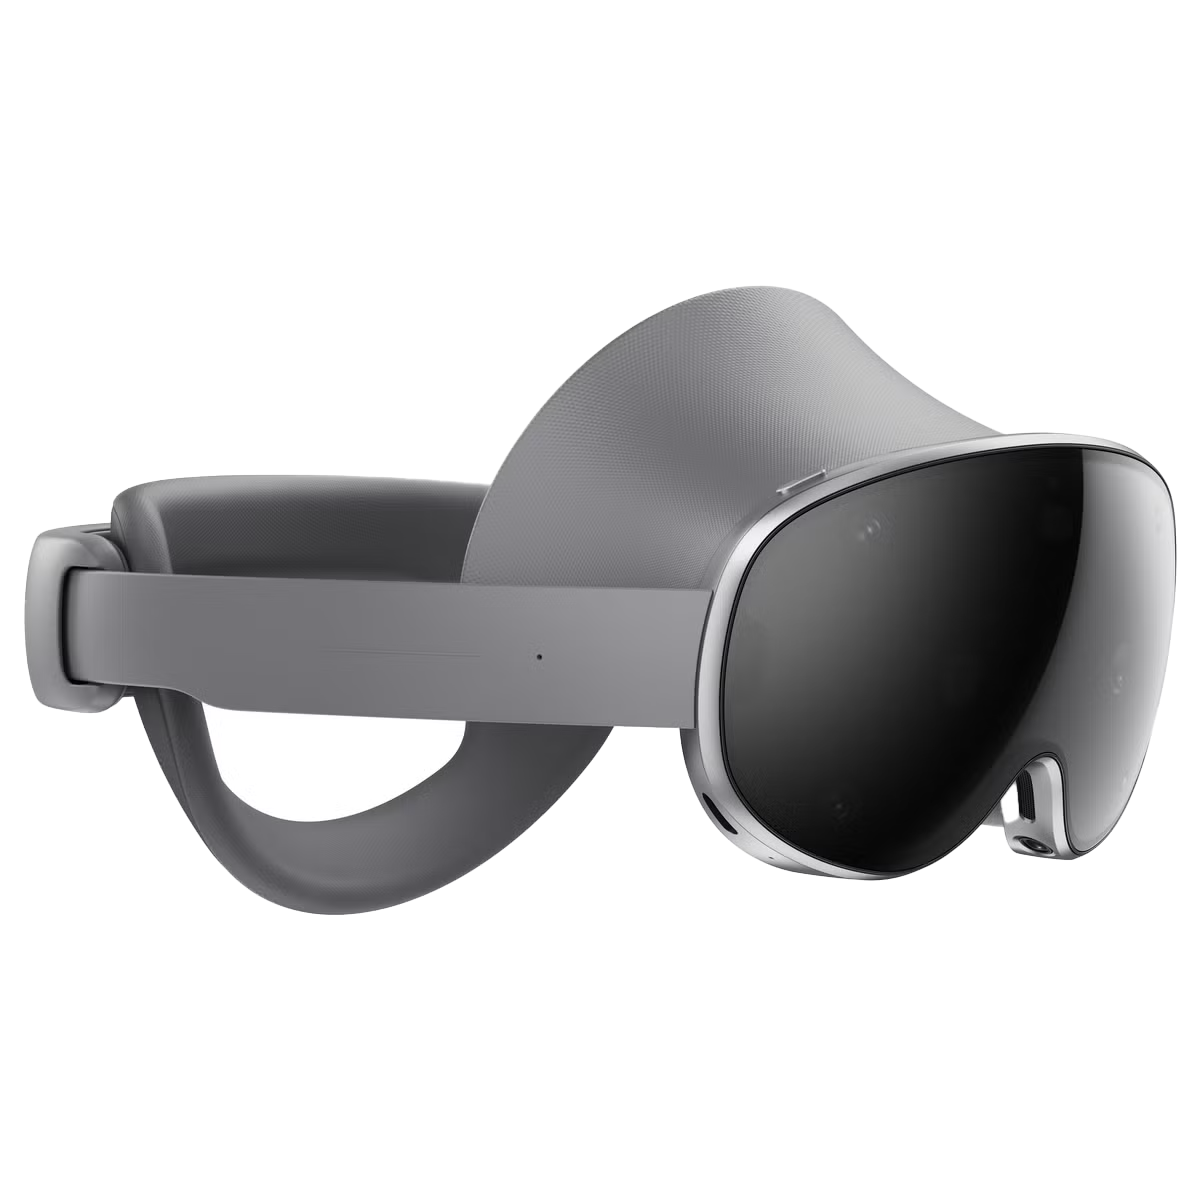
Samsung Galaxy XR
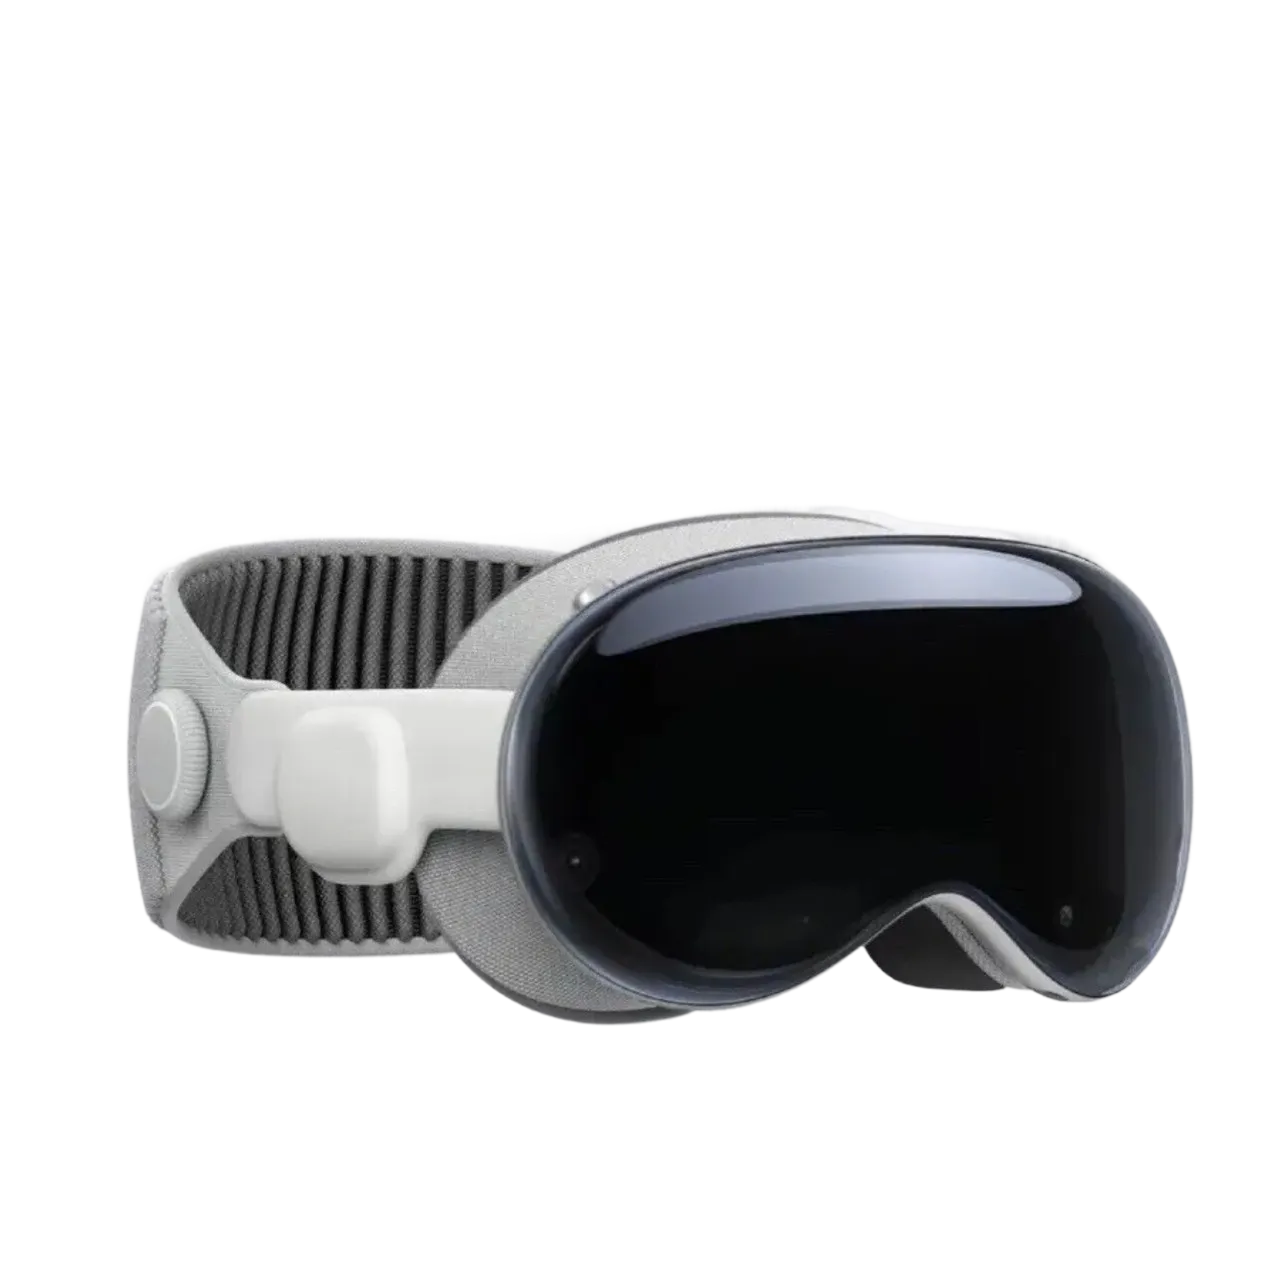
Apple Vision Pro
Nanome hardware partner
Preconfigured through VR Expert
VR Expert prepares each headset before it ships: enrolled in the organization's MDM, configured, and loaded with Nanome. The US order form lists ready-to-go Nanome kits for Quest 3 and Galaxy XR, and installation and a year of support can be added to every headset.
Meta Quest 3 and 3S are sold by Meta, Best Buy, and Amazon. Meta stopped selling business editions in February 2026, so organizations now buy the standard headsets and enroll them in Meta's free device management (step 2).
For shared headsets, the accessories worth adding are an Elite Strap for long sessions, a facial interface that wipes clean, and a carrying case. A Link Cable only matters for Windows PCVR. Meta accessories
Step 2 Choose an MDM
Managing a fleet of headsets
For more than one headset
A mobile device management (MDM) service enrolls headsets into an organization, pushes Wi-Fi and apps to them, and keeps every headset on the version IT has approved. Managed headsets can also run without personal store accounts.
02
1 Which headset?
Compare HMS, ArborXR, and ManageXRCost, supported headsets, and features side by side.More detailLess detail
Enrollment happens during a headset's first-time setup, so it comes before apps and accounts. Each guide covers signing up, enrolling headsets, and pushing Nanome.
03
Before new headsets are switched on: enrollment happens during a headset's first-time setup, and that setup needs a working Wi-Fi network (step 4). On Meta Quest, a headset already signed in to a personal Meta account needs a factory reset before it can enroll.
Sign up for a free HMS organization with Meta. Adding at least 2 System admins, on shared role-based email addresses, keeps access from depending on one admin.
Factory reset any headset that has already been set up. Enrollment only happens during first-time setup.
During setup, choose Connect to your organization and note the 8-digit code. Enter it at work.meta.com/device while signed in to a managed account. The Meta Horizon Device Setup app enrolls headsets over USB instead, straight into Shared Mode, with no account needed.
In Device Manager, put shared headsets in a Shared Mode device preset and assign the Wi-Fi network to it.
Add Nanome from Apps & Content > Discover Apps in Device Manager.
Set up the free HMS organization first (steps 1 and 2 of the HMS guide). Quest headsets that are not already enrolled in an MDM enroll through HMS on Horizon OS v74 and later.
In the group's Enrollment tab, create a JSON enrollment file in the Horizon managed services format, then upload it in Meta's Device Manager under Third Party MDMs.
Enroll each headset with its device code, then confirm it appears in ArborXR.
Upload the Nanome APK to Content Library and add it to the group.
Set the group's Kiosk Experience to ArborXR Home, ArborXR Kiosk Mode, or an in-house launcher, then check that Offline Mode is on in its Shared Mode settings.
Wi-Fi comes from the network details in the enrollment file. Once headsets are enrolled in ArborXR, app and settings changes happen there.
Set up the free HMS organization first (steps 1 and 2 of the HMS guide), then start a ManageXR free trial.
In ManageXR, open Devices > Add Device, check that the default configuration uses the intended Meta device mode (Shared or Individual), and download the Organization Enrollment Token.
In Meta Admin Center, open Devices > Third-party enrollments > Create third-party enrollment, choose ManageXR as the provider, and upload the token.
During each headset's setup, choose Connect to your organization and enter the code at work.meta.com/device.
Save Nanome in HMS Discover Apps, export the app list as a CSV, and import it in ManageXR under VR Content > Add Content > Meta Horizon Store Apps. Repeat that export when the app list changes. Organizations on a private Nanome server upload the matching APK instead.
Deploy Nanome and the Wi-Fi network in the configuration, then save it.
Meta also supports Ivanti, Microsoft Intune, and Omnissa Workspace ONE as third-party enrollment providers, so an IT team already standardized on one of those can enroll Quest headsets the same way.
Step 4 Wi-Fi & network
A network Nanome can reach
Headsets need Wi-Fi with direct internet access and a short list of hostnames allowed through the firewall. The checklist below is written to hand straight to IT.
04
6 checks for IT
Direct internet, no sign-in pageGuest networks with a browser sign-in block headset setup.More detailLess detail
Guest networks that ask for a browser sign-in (captive portals) block first-time headset setup. Quest also shows a no-internet message whenever it can't reach Meta, before Nanome ever opens.
Nanome allowed by hostnameOutbound TCP 443 to *.nanome.ai and *.nanome.com.More detailLess detail
Allow outbound TCP 443 to *.nanome.ai and *.nanome.com. Nanome's servers run on Cloudflare and AWS, where IP addresses change, so IP-based rules eventually break.
app.nanome.aiWeb app and workspaces
home.nanome.aiAccounts, licenses, and organizations
api.nanome.comSign-in and licensing, Nanome 2.6 and later
api.nanome.aiSign-in for earlier releases and Nanome Classic
downloads.nanome.aiAPK and Windows downloads
Enterprise Wi-Fi from the MDM802.1X networks and certificates pushed to every headset.More detailLess detail
HMS pushes WPA2 and WPA2-Enterprise networks (EAP-TLS and EAP-PEAP). ArborXR and ManageXR add WPA3, proxy settings, EAP-TTLS, and SCEP certificate enrollment, and ArborXR also supports EST. Headsets enrolled in ArborXR or ManageXR take their apps and settings, Wi-Fi included, from that MDM.
802.1X profiles need the RADIUS server's domain and a root certificate served with its full chain, intermediates included.
Networks that register devices by MACHeadsets randomize their MAC address by default.More detailLess detail
Quest 3 uses a randomized MAC address for each network by default, and other Android-based headsets and Vision Pro do the same. For MAC registration, switch that saved network to the device MAC, or turn off randomization in the HMS, ArborXR, or ManageXR Wi-Fi profile.
Firewall allowlistNanome, Meta, and MDM hosts and ports in one list to copy.More detailLess detail
Firewall allowlist
Nanome (headsets and web app)
  Outbound TCP 443 (HTTPS and secure WebSockets), allowed by hostname:
  *.nanome.ai, *.nanome.com
  Includes app.nanome.ai, home.nanome.ai, api.nanome.com, api.nanome.ai, downloads.nanome.ai
  Exempt these hosts from TLS/SSL inspection.

Meta Quest (Meta Horizon managed services requirements)
  TCP 80, 443, 3478, 3479, 8080
  UDP 40003, 40005, 40007, 40008, 50000-59999
  www.facebook.com, graph.facebook.com, graph.facebook-hardware.com, edge-mqtt.facebook.com, portal.fb.com
  static.xx.fbcdn.net, www.oculus.com, graph.oculus.com, scontent.oculuscdn.com, work.meta.com
  forwork.meta.com, www.google.com, devicemanager.meta.com
  Plus regional CDN hosts under xx.fbcdn.net, such as scontent-iad3-2.xx.fbcdn.net
  Full per-task list: https://work.meta.com/help/278069664862989

ArborXR (when used as the MDM)
  TCP 443:
  arborxr.com, *.arborxr.com, xrdm.app, *.xrdm.app, abxr.us, storage.googleapis.com
  arborxrstatic.com on ports 53, 80, and 443 (captive portal detection)
  Remote Assistance: stun.cloudflare.com (53, 1473, 3478), turn.cloudflare.com (53, 443, 3478, 5349)
  Full list: https://help.arborxr.com/en/articles/6399721-what-urls-and-ports-are-required-to-allow-whitelist-arborxr-traffic-in-my-local-network

ManageXR (when used as the MDM)
  TCP 443:
  *.managexr.com, managexrapi.com, managexrcdn.com
  mighty-platform-prod.appspot.com, mighty-platform-prod.firebaseio.com, us-central1-mighty-platform-prod.cloudfunctions.net
  *.googleapis.com
  *.crashlytics.com on ports 80 and 443 (error reporting)
  clients3.google.com and connectivitycheck.gstatic.com on port 80 (connectivity checks)
  Remote screen streaming: openrelay.metered.ca, stun.relay.metered.ca, and global.relay.metered.ca on ports 80 and 443 (TCP and UDP)
  Full list: https://help.managexr.com/en/articles/6994017-network-requirements
Testing the connectionA curl check and a phone hotspot narrow down network problems.More detailLess detail
From the same network, curl -v https://api.nanome.com confirms port 443 is open (ping uses ICMP and doesn't test it). When a phone hotspot works and the office network doesn't, the network is blocking something. ArborXR and ManageXR both publish network tests that also run in the headset's browser.
Running Nanome on a private cloud or on-premise server? Those deployments use their own hosts and ports, covered in the enterprise deployment guide. Nanome Classic networking is listed with its downloads on /versions. Samsung Galaxy XR fleets managed under Android Enterprise also need Google's endpoints.
Step 5 Download & install
Downloading and installing Nanome
Nanome comes from a store, through an MDM, or as a manual download to sideload. Picking a method and a device shows the matching download and steps, always for the latest release.
05
1 How will Nanome be installed?
Looking for prior versions?
Nanome Classic downloads, earlier Nanome builds for version-matched enterprise deployments, and the full release notes are on the Versions page.
Each user signs in with their own Nanome account, even on a shared headset. Users work in the web app at app.nanome.ai, and admins manage licenses and organization membership at home.nanome.ai.
06
app.nanome.ai
The Nanome web app
Where users create their Nanome account, with an email or a Google, Microsoft, Apple, or SSO sign-in. It's also where the work lives: projects and workspaces, structures loaded by PDB ID or dragged in from a computer, and sharing by link, 8-digit code, or email invite.
Where admins assign and reassign licenses, invite members to the organization, set up single sign-on, download invoices under Billing, and turn on two-factor authentication.
1An account for each userCreated at app.nanome.ai, with a 14-day Full trial.More detailLess detail
Each user creates a Nanome account at app.nanome.ai, including users who share a headset. Every new account starts with a 14-day Full license trial.
2A seat that includes XRHeadset use takes a Collab or Full seat.More detailLess detail
Working in a headset takes a Collab or Full seat. The Free Web Seat covers 3 workspaces in the browser and view-only collaboration.
3Licenses once the trial endsSeats and pricing, or a quote from the Nanome team.More detailLess detail
After the trial, headset access continues on a paid seat. The pricing page lists what each seat includes, and the Nanome team quotes volume and academic pricing by email.
4Licenses assigned by an adminAssigned at home.nanome.ai by account email.More detailLess detail
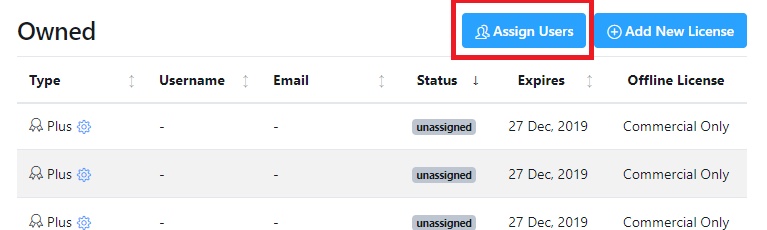
An admin assigns licenses in home.nanome.ai under Licenses > Assign Users, using each user's account email. The license activates once that user confirms the email Nanome sends.
Enterprise rollouts start with a dedicated license-admin account (for example, CompanyName-admin) registered at home.nanome.ai and shared with the Nanome team, who add the organization's licenses to it.
The headset login screen has 2 tabs: Code, for a short code confirmed from a phone or laptop, and Password, for a username and password typed in the headset.
07
2 ways to log in on a headset
Log in with a codeQuickest in a headset, and the sign-in for SSO accounts.More detailLess detail
N7K2
On the headset's login screen, open the Code tab. Nanome shows a short code.
On a phone or computer, sign in at app.nanome.ai and choose Login via Device Code.
Enter the code. The headset signs in to that account.
Each code signs in one user's account. Accounts that use single sign-on (SSO) sign in to headsets this way.
Log in with username and passwordThe Password tab on the headset's login screen.More detailLess detail
On the Password tab, enter the Nanome username and password, then choose Log in.
Create Account on the same screen starts a new account with a 14-day free trial.
On shared headsets, Log Out sits at the bottom of the Settings tab, so the next user starts with their own account.
Ready for a Nanome session?
The session guide picks up where setup ends: sizing a session, building workspaces and scenes, viewer and editor permissions, and how many atoms a headset can show.